
- May 3, 2023
Loudness Techniques
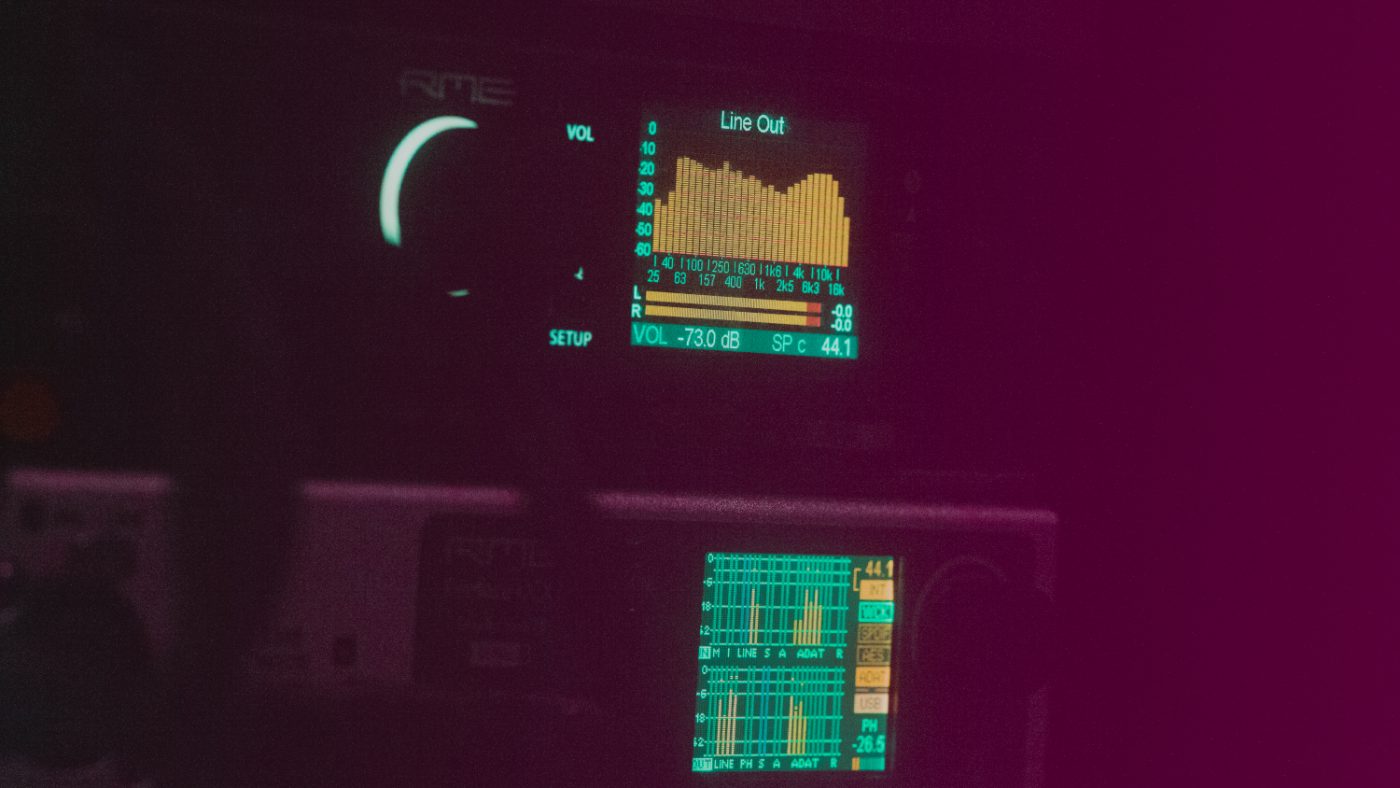
Today’s electronic music needs to be pushed to a fairly high volume in order to satisfy the mainstream fashion and to fit in. Big labels are very good at preserving a clean and detailed sound while the track is being pushed to a very loud level. In the following we’re going to share some insights on how to reach thoose levels without too much hassle.
The first and most important step is to make the arrangement compatible with the desired loudness level. The less instruments you use the louder can it be at the end. We all know the negative side effects of compression when it is overdone, everything starts to fall apart and loose clarity and instead of loudness it starts to sound distorted and lowering the quality of listening experience. To avoid this you either need to dial back the compression or try to separate the elements as much as you can so that they won’t get burned into each other when the track gets pushed. Needless to say as loundess is a must, most producers tend to do the latter to solve their problems but this requires amazingly good mixing skills at which point some fails. When mixing is done properly and the material is ready for the final baking stage there are still many options on how to reach those desired levels.
The in the box world offers outstanding limiting solutions such as the Pro L2 from fabfilter or Izotope Ozones Maximizer. We often recognise these on a lot of music because it is easy to spot their behavior or so to say the settings most users dial in on them. Almost in every case a too fast attack time is used for more loudness, this is a typical error of watching the numbers instead of listening and results in pushing the track until the magical -6 or -3 RMS value appears on the screen. Now in order to eliminate this very common problem Ozone uses the IRC aka Intelligent Release Control algorythm which is very good at reducing this type of misconfiguration by users.
In the analog domain our trusted Bettermaker Mastering limiter offers the same feature called IREL which stands for Intelligent Release. It is a very useful tool because it basicly gives flexible timing instead of one fixed value for everything, this results in a more transparent limiting, so transparent we often check if its on or not. Dealing with the release time is only one part but you need to catch those fast transients before you hit the limiter and therefore you need a very good and very fast compressor for bus compression. Our choice is the Elysia Mpressor. This is a very clean invisible compressor but with an unbeliveable fast attack no other compressor can match. Above that this circutry can have the same trick as the intelligent release from the Bettermaker only with one more trick. Elysia’s AutoFast feature operates at the user defined setting until the point a larger impulse or transient occurs because in this case it will automatically adjusts it’s self to catch that bigger change in volume. This gives a material dependent variable attack time but with a determined interval set by the user. Needless to say we as gearheads combine Elysia’s magic with Bettermakers algorythm so we have a variable attack and release time that follows the music while being transparent and give pure loudness paired with the breathtaking analog experience that reveals as more depth and contour in the mix. You can get both the attack and release trick in one unit if you have the budget for an Elysia Alpha compressor. We did test it for longer periods and the only downside was that the Alpha has only one softclipper while the Bettermaker uses a two stage clipping method. Soft clipping than Hard clipping the signal, plus soft clipping can be done in mid-side mode before the final hard clipping done in stereo. Not only the clipping feature is better but the Mastering Limiter offers a unique harmonic generator that can process the even and odd harmonics separately and with a band pass filter so it can be applied to only selected ranges. Price-wise getting a Bettermaker Mastering Limiter and an Elysia Mpressor Qube comes at the one third of and an Alphas price which is about 12 000 Euro these days. Being an expert is a good thing if you don’t want to break the bank but still aim to deliver top quality.
Another overlooked solution aside from the classical limiting and compression is the clipping or as the old school guys used to call it: Feed the header. It means you simply let is distort. Controlling how and what character of distortion you allow is the key. This can be style specific, for example trance tracks does not benefit from tape saturation at all, while house grooves can live on it. Before diving in to the topic deeper we need to understand a definition. Raising and an audio level above a certain point called working point causes distortion in analog circuits by the side effect of reduced headroom, the signal is no longer represents its highest values known as peaks becuase the bandwith is reduced so it will introduce a modified envelope paired with harmonics generated resulting in an audible change. When raising the volume above the working points limits there are 3 stages engineers refers to. Slightly over is when only the peaks gets eaten is called soft clipping, one more step when the bandwith is starting to narrow further and harmonics start to be present because of the mild distortion, one more step is when audio signal is audibly distorts because its structure is heavily modified by the lowered bandwith and peaks are no longer present only a squared signal.