
- September 24, 2024
Anatomy of a Kick Drum

Recipes
In most cases of electronic music, the kick drum is created by pitch modulation of a sine waveform. However, analog drum machines often solve this task with the help of filters, which can also be easily recreated with analog synthesizers. My personal favorite is the Studio Electronics Boomstar 4075 for this task, as its on-board arsenal of weapons further helps to create a unique character. Its snappy envelopes or its extremely tasteful unique distortion all increase our possibilities.
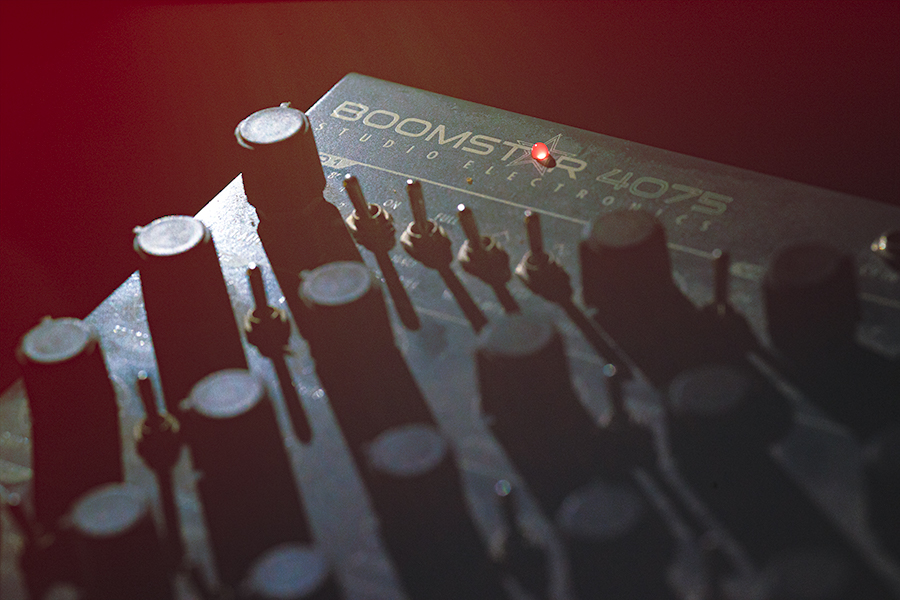
Distortion or saturation is necessary because the sine sound itself gives a fairly clean, so to speak, sterile sound image in the absence of overharmonics, this space is filled when we apply saturation, so we get a much thicker sound, from which we can sculpt in the next step so that it fits exactly into our composition.

Saturation
We must mention that our favorite voltage-controlled analog compressor, the Elysia Mpressor, is also ideally suited for this saturation task thanks to its THD function. It gives a less meaty tonality, more reminiscent of the cleaner classic German distortion that was popular in the 90s. I use it with great pleasure on my MFB Tanzbar Mk2 drum machine, whose typically already almost too soft 808 drums benefit of the transfomration and become much more articulate and easy to mix.
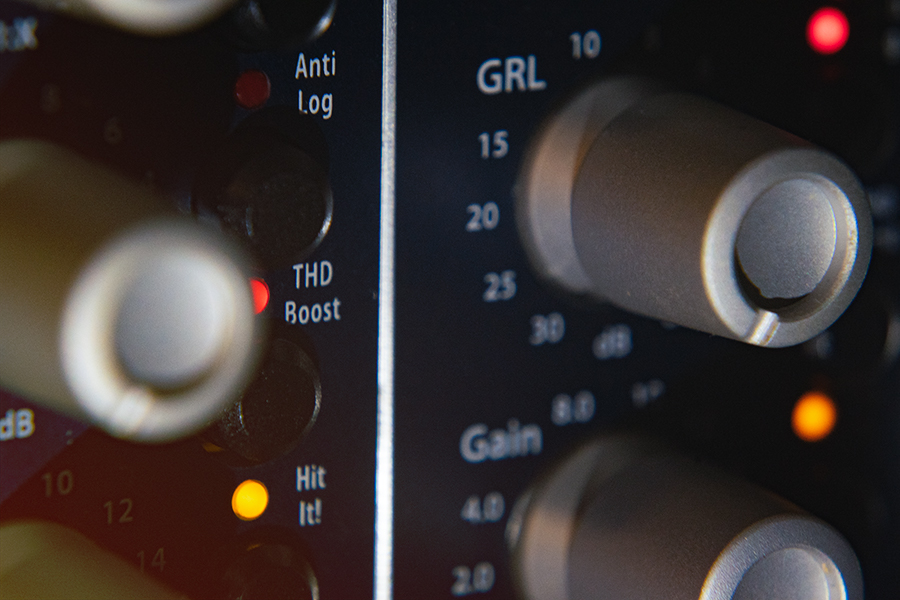
As an interesting fact, I have to tell you that due to its clipper and saturation options, the deservedly popular Bettermaker Mastering Limiter also takes its share of sound design tasks. Its specialty is that the even and odd harmonics can be parameterized separately, we can give them a distortion and a frequency operating point separately, then we can mix this with the original signal and close the signal path with the soft clipper and hard clipper circuits wired in series. This way we can create truly unique kick drums.

Needless to say how much of a help it is during stem mastering process when We have the luxury of being able to handle the kick drum separately and polish it to perfection with the above-mentioned tools. There is only one thing we cannot improve with this methodology: the tuning

ABT
Many people tend to forget that the pitch of the kick drum is a key factor in creating a successful track. There’s the key importance of matching the tone of the other instruments, this is a must and on the other hand, it really does matter how deep it is tuned and which musical note we give it from the scale. By examining its anatomy more deeply, You’ll see that We also have to separate the pitches of its main components, such as:
- Attack
- Body
- Tail
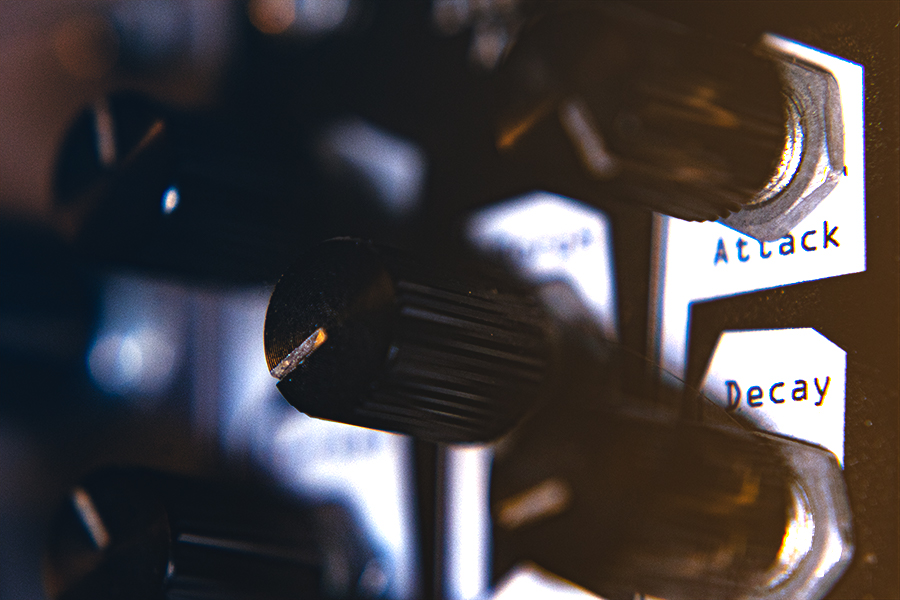
Often when We have to change the kick drum during stem mastering due to a tuning problem, We can still save the attack from the original concept because the composer chooses it well, however, the low frequencies that are located too deep most of the time are not accurately heard by the artist and this is why the tuning goes wrong. In such cases, We extend the stem mastering process with a so-called “retracking” service, which means that we re-record those musical elements that We cannot polish to perfection with the traditional mixing techniques. Of course, this takes more time and is therefore a more expensive service, but it opens up the possibility to raise the production to a much higher level.
The starting transient can be a very short click-like sound if We are thinking in a tighter style, such as some techno or minimal genres, or it can be longer and therefore chunky if we are talking about the house genres.
The body is the part that We hear when the pounding subs removed so We can examine the middle of the frequency spectrum, typically between 100 Hz and 300 Hz. Here We have to pay close attention to choose a well-articulated and musically fitting pitch.
Finally, the tail or release part which mostly just means the floor shaking subs. Here, the frequency range is the deepest, where it is particularly important to note that the subs carry a surprising amount of energy, even if We might not hear them. For this reason, it is worth to choose and regulate the length of the release with great care, as well as its pitch, to match it as best as possible with other tracks containing bass. Due to such difficult tasks, I ended up buying a larger sealed subwoofer, because during mastering, impeccable precision is simply essential for confident and well-done work. This is not a process that tolerates guessing. This is also why many people bleed at this stage.
A poorly chosen release time can cause such anomalies as the excessive pumping of the master compressor or the masking of other sounds and the details of the mix due to too much prominence. If you are not sure how to manage your sub grooves well, always ask for help! Unfortunately, this is a phase that you cannot confidently do with headphones. Of course, many people expect help from a real-time spectrum analyzer in such cases, but the truth is that even an experienced sound engineers often fail to understand what is happening if they can’t hear it. The problem of mixing with eyes would be another topic, now let’s continue with the final stage.
Relation of Equaliser x Compression
When We’re satisfied with the character of our synthesized drum sound, than it’s time to reduce polish it from a raw quality to a more cultured framework. Unnecessarily humming subs are cut out, in this case the release time usually becomes shorter and tighter. The too intrusive and loud mids are also scooped out, which gives us much more space in the mix for other important instruments. We also soften the excessively high sharp transient with a high cut, leaving room for the elements of the high section, plus a softer start on the drum is much more comfortable for our ears because it is much less tiring over time, this is very important as the audience will gratitude this over better feeling. If you think about it, most of the hot kicks don’t come to mind because of their highs, but because they hit so well and exactly where they need to be. Well, this is exactly what We solve with a good tuning but also with balancing by using both the compressor and equaliser together. The compression has a big role as We can use a lot of tricks with it. I’m thinking here of a high-pass filtered signal towards the detector circuit or the parallel compression, which in addition to regulation also preserve the original wildness.
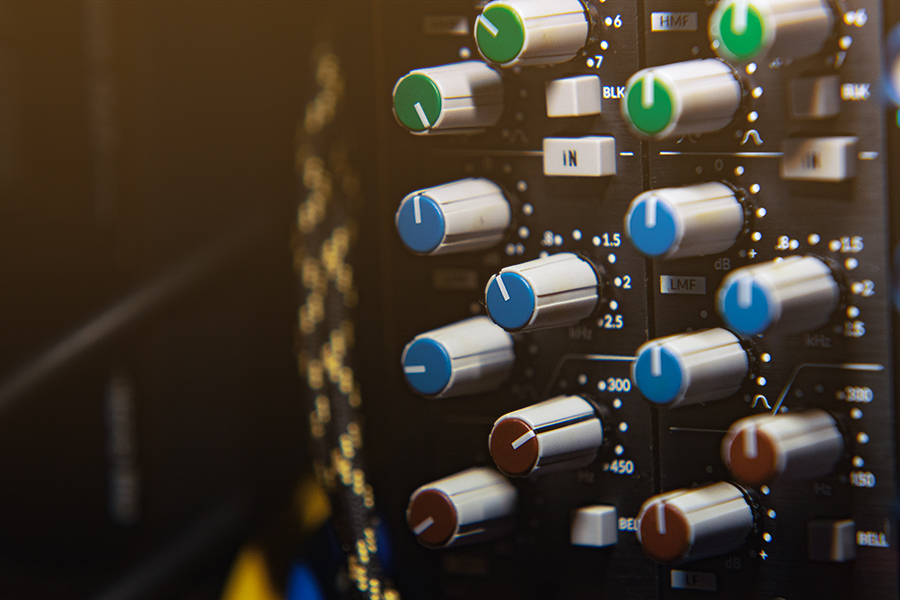
One of the best equalizers for mixing and sound design is the well-known SSL611EQ from the iconic SSL 4000E console, which I admit I’ve been using more and more in Brown mode lately. At first, the Black version was the big love, then I tried out other flavors and the API madness escalated to end in a 550b analog eq pair, but now that I mix more and more techno, I was forced to pick up my favorite eq of the genre and that’s how I fell in love again. It’s a sweet burden. I tried a lot of VST equalizers, but the truth is that none of them sound like my analog SSL611EQ. Of course, there are situations when something else is needed in this case the Fabfilter Pro Q comes for me, but whenever I can, I prefer the analog ones.
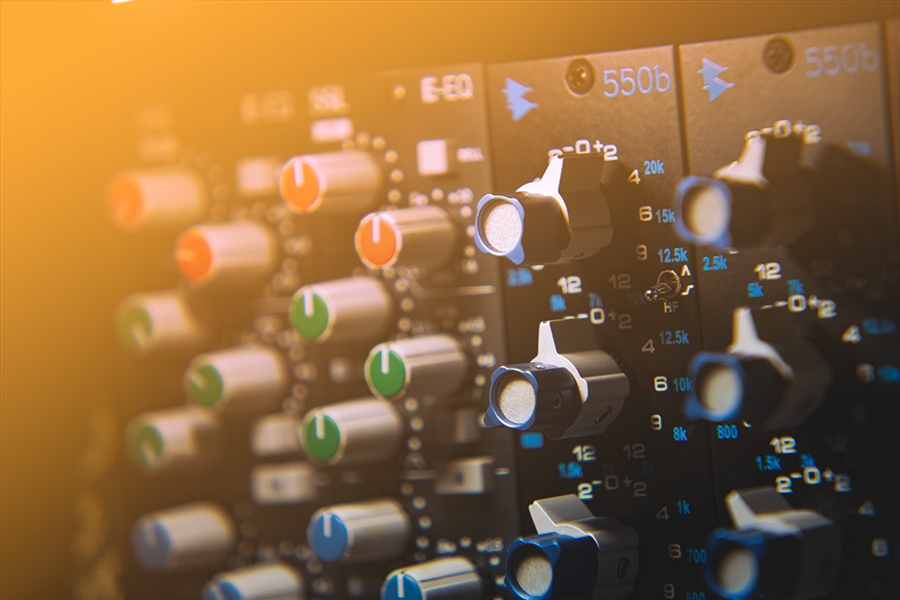
When a bolder sound design is needed, it is worth turning the equalizer with braver moves, especially if We have a good and responsive compressor after it, so We can easily blend in our kick drum for the mix or highlight it if that’s needed as some genres benefit of having a prominent 4/4 pattern that drives the groove.
Would you like to take a deeper dive into the world of sound design and mixing?
Join an exclusive analog workshop and bring your own music so we can practice on it
Online sessions avaliable